Creating Posts
Following the steps below will make sure there are no issues when you create a post for your group.
Finding your way around the dashboard
To view the website click on the little house top left:
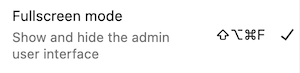
If you can’t see the main menu click on the three dots top right:
Then deselect the Fullscreen mode:
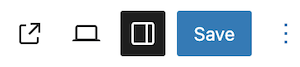
If you can’t see the settings side bar click the sidebar icon (in black above).
Preparation
- Make sure you have at least one image. If possible resize the image so that it is 1200px wide. You should be able to do this easily on your computer.
- Rename the image. Ideally it should be related to the topic of the post.
Create a Post
In the dashboard, click on posts then Add Post.
Add the Title. This can be anything you like. The more descriptive the better. There is no need to add the date or the name of the group. This will be automatically added when you publish.
Top Tip: Do not use the name of your group as the post title – it will get very confusing.
Adding Content
Click where it says ‘Type / to choose a block’
Write your introduction to the post. Set the scene and tell your readers about the activity. Remember that this may not be someone from your group so tell a story
Press enter to move to the next line.
Continue writing until you are done.
Blocks
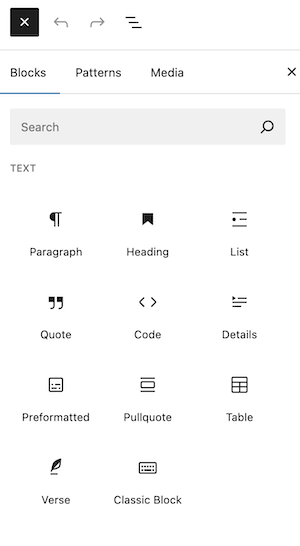
So far you have added simple paragraphs. In most cases this will suffice but you have a huge range of other things you can use. These things are called blocks. Click on the blue cross top left to see all the available blocks:
Have a play. You can’t break anything.
The most common blocks are headings, paragraphs, lists and images. All of these are used on this page.
Adding images
There are multiple ways to add images to your post.
The simplest it to drag and drop your image from your computer onto the page.
If you can’t do this click on the cross on the right:

and then choose Image:
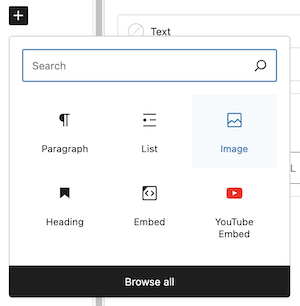
This will take you to the media library. Follow the on screen instructions to select or upload an image.
To close the dialogue click on the square with the cross again or click anywhere on the page.
You can also click on the blue cross top left to access the image block.
Formatting
When you add anything to the page you will see a dialogue box similar to this:

The type of block will determine what options you have. The example above is for the paragraph editor.
The up and down arrows allow you to change the position of the block on the page (for example where you place the image).
On the right of the page are other formatting option – for example colours and font size.
Adding Links
To add a link to your post first select the block or section of text where you want add the link.
Then click on the link icon in the dialogue box:
This will open the link editor:
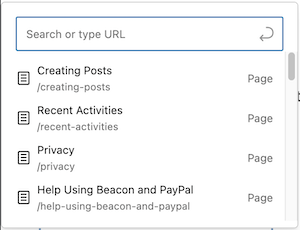
Start typing the name of the post/page or you want to link to or paste in the URL of the webpage.
Press ‘enter’ on your keyboard to add the link.
Finishing off
In the right sidebar click on Post at the top
Then click on Set Featured Image:
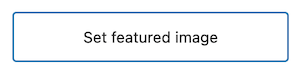
This will open the media library. You can now select the image you prepared right at the start.
Now scroll down (if needed) and click on the Categories option in the right sidebar:
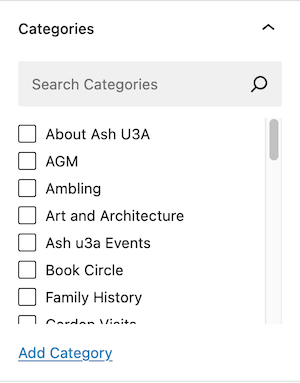
Select the appropriate category.
Publication
When you are happy, click on the blue Publish button. If you want to come back later and finish off, click on Save draft:

That’s it, all done.
Last updated on 20 December 2025 by Graham (Chair)